
Call Us
1.877.966.3678

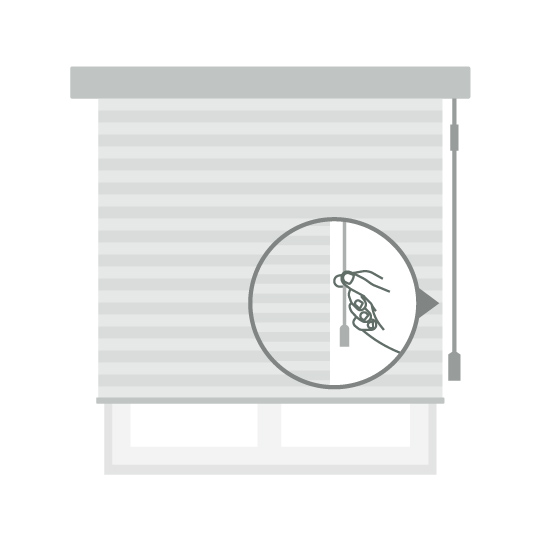
After you’ve purchased the perfect cellular, skylight, or arch shade type from us, now you need to install them! It doesn’t matter if you’ve never picked up a tool; our shade installation guides are very easy to follow. Please note that our cordless and top down bottom up cordless installation instructions are the same.


We're here to guide you every step of the way to finding the perfect fit for your home & style. We eliminate the guesswork when buying cellular shades online. We help you find which cellular shade right for you. During the online consultation or estimate, we help determine the best window treatments for your needs and budget. We encourage you to take advantage of our experience, knowledge, opinions & ask questions.